Job swarm execution
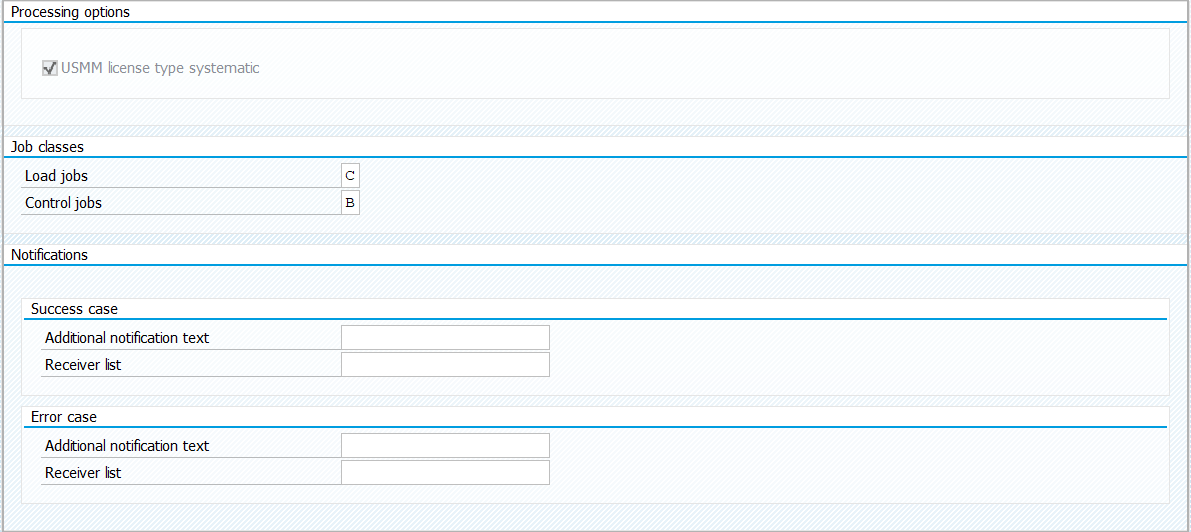
The report creates a job swarm to load data from selected ABAP systems. This selection screen is basically the same as in Load data from ABAP systems, only job classes are added for selection. Job class C for load jobs and job class B for control jobs are selected by default.
-
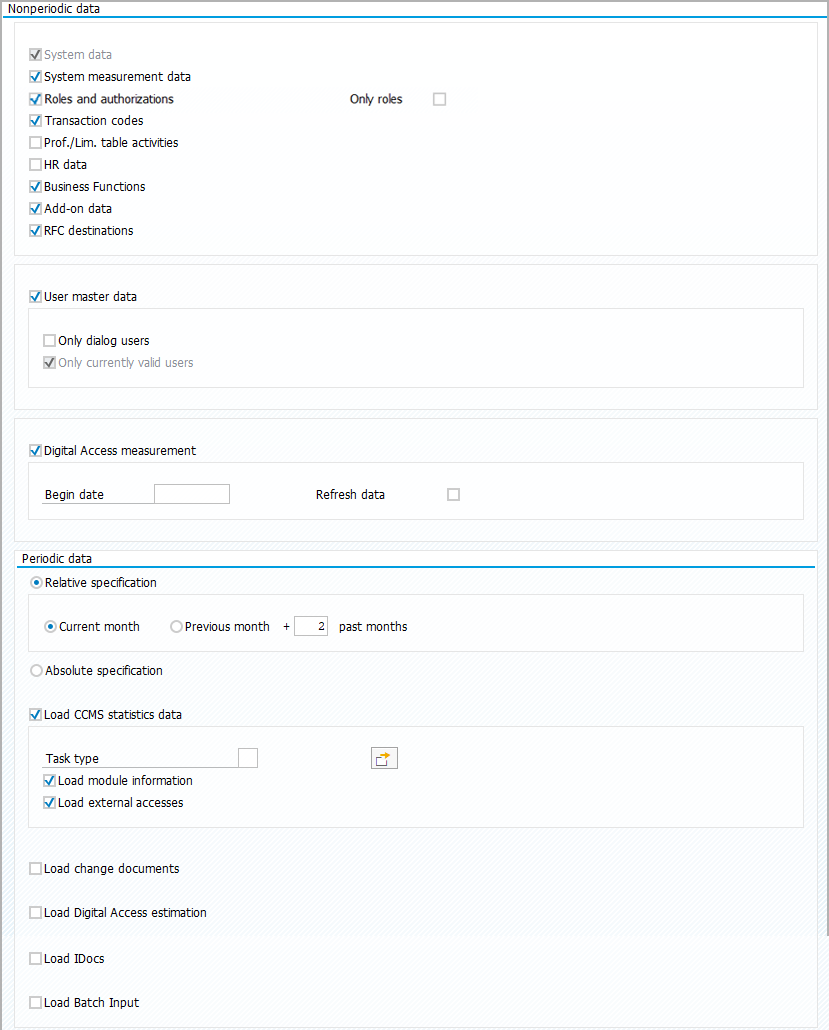
Activate or deactivate required options for non-periodic data.
note-
'Only roles' can be activated to avoid data overload from full authorization data.
-
If data type 'User master data' is deactivated, the option 'Only currently valid users' is not available for selection.
If 'Digital Access measurement' is selected, optionally enter the begin date of the measurement.
note-
To measure Digital Documents, the support packages including SAP Passport must be installed on the systems.
-
Digital Documents can only be measured from the point in time when SAP Passport is installed on the systems. It is not possible to measure Digital Documents that were created before this time.
-
When Digital Access measurement data is reloaded, only the delta of the data is loaded. In order to load all existing Digital Access measurement data, activate checkbox 'Refresh data'.
-
-
For periodic data, select relative specification or absolute specification.
If relative specification is selected, select current month or previous month and leave preset two past months or enter another number.
If absolute specification is selected, enter period in the format 'MM.YYYY'.
If 'Load CCMS statistics data' stays activated, select task type. If module information or external accesses is not required, deactivate checkboxes.
If required, activate checkboxes to load change document, Digital Access estimation, IDoc, or batch input data.
-
If required, deactivate checkbox 'USMM license type systematic'.
-
Enter job classes.
To see available job classes with description, click on
 .
.Select job class and click on
 .
. -
If data is loaded in batch mode, enter notifications and receiver lists for success and error cases.
To see available entries, click on
.Select entry and click on
. -
Click on
 .
.